Saturday, April 30, 2016

Little Green Angel

I thought this one would be soooooo easy!  She was mostly done!  I bought her at Deseret Industries thrift store for $1.00.  She was glazed all over, but her face was literally green too.  And, once again, not painted well.  Too much spill over into the hair.  This will be soooooooo easy!


Well, what did I know!  True, painting the face and hair did not take that much time.  At this time, I was still looking for a decent brush to do small work with, so the eyebrows and eyes are not as dainty as I would like.  I've actually considered plucking the whiskers off of one of my cats to make my own little tiny brush.
 
First, because I had no idea how long she had been on the shelf, she got a thorough washing


Using the palest flesh-tone paint I have, I covered her face and decided to make her a blond.
 
 
I got her all painted, then realized something was missing.  I rummaged through my stash of whatnots and found these.
 
 
I had bought these Swarovski crystals.  Yes, they say Swarovski on the package, for crafts.  Normally $10.00 per package, they were now $3.00.  When I bought them, I really had no plan for them.  It just seemed too good a buy to pass up.  As I took these out of their drawer, I realized they were the perfect color scheme for my little green angel.
 
Gluing with Gorilla glue and Super glue is not particularly fun.  I'd get too antsy and have to stop, so that's why this took longer than I intended.  But, here she is.  Glitz on her wings...


Glitz on her hem...
 
 
A necklace of crystal about her throat and a little diadem on her head.
 
 
Here she is all done.  Before and after.

 
Next, a Broken Angel.  I also found her at Deseret Industries.  She is Enesco, numbered and named, but damaged beyond repair.
 

Surely, there must be a way to reclaim this pretty figurine who once had wings to fly.


Sunday, February 28, 2016

My Three Angels

Well, here they are.  My next project.  They are 3 angels I rescued from a Dollar Tree store.  As you can tell, they are whitish and brownish and altogether boringish.  So let's get to work.


First order of business is to select colors.  I decide to be quite vibrant.  They will not be a uniform color but all different.  Orange.  Purple.  Green.


They all got the base white paint cover, then I painted the wings a metallic white with a little blue in it.  The dresses are painted of pearlized acrylic craft paint.  I learned a very valuable lesson here.  Pearlized paint needs a base undercoat of the color you want, otherwise you are painting layer after layer after layer of pearl to get the color solid.  Once this was done, I was ready for the details.


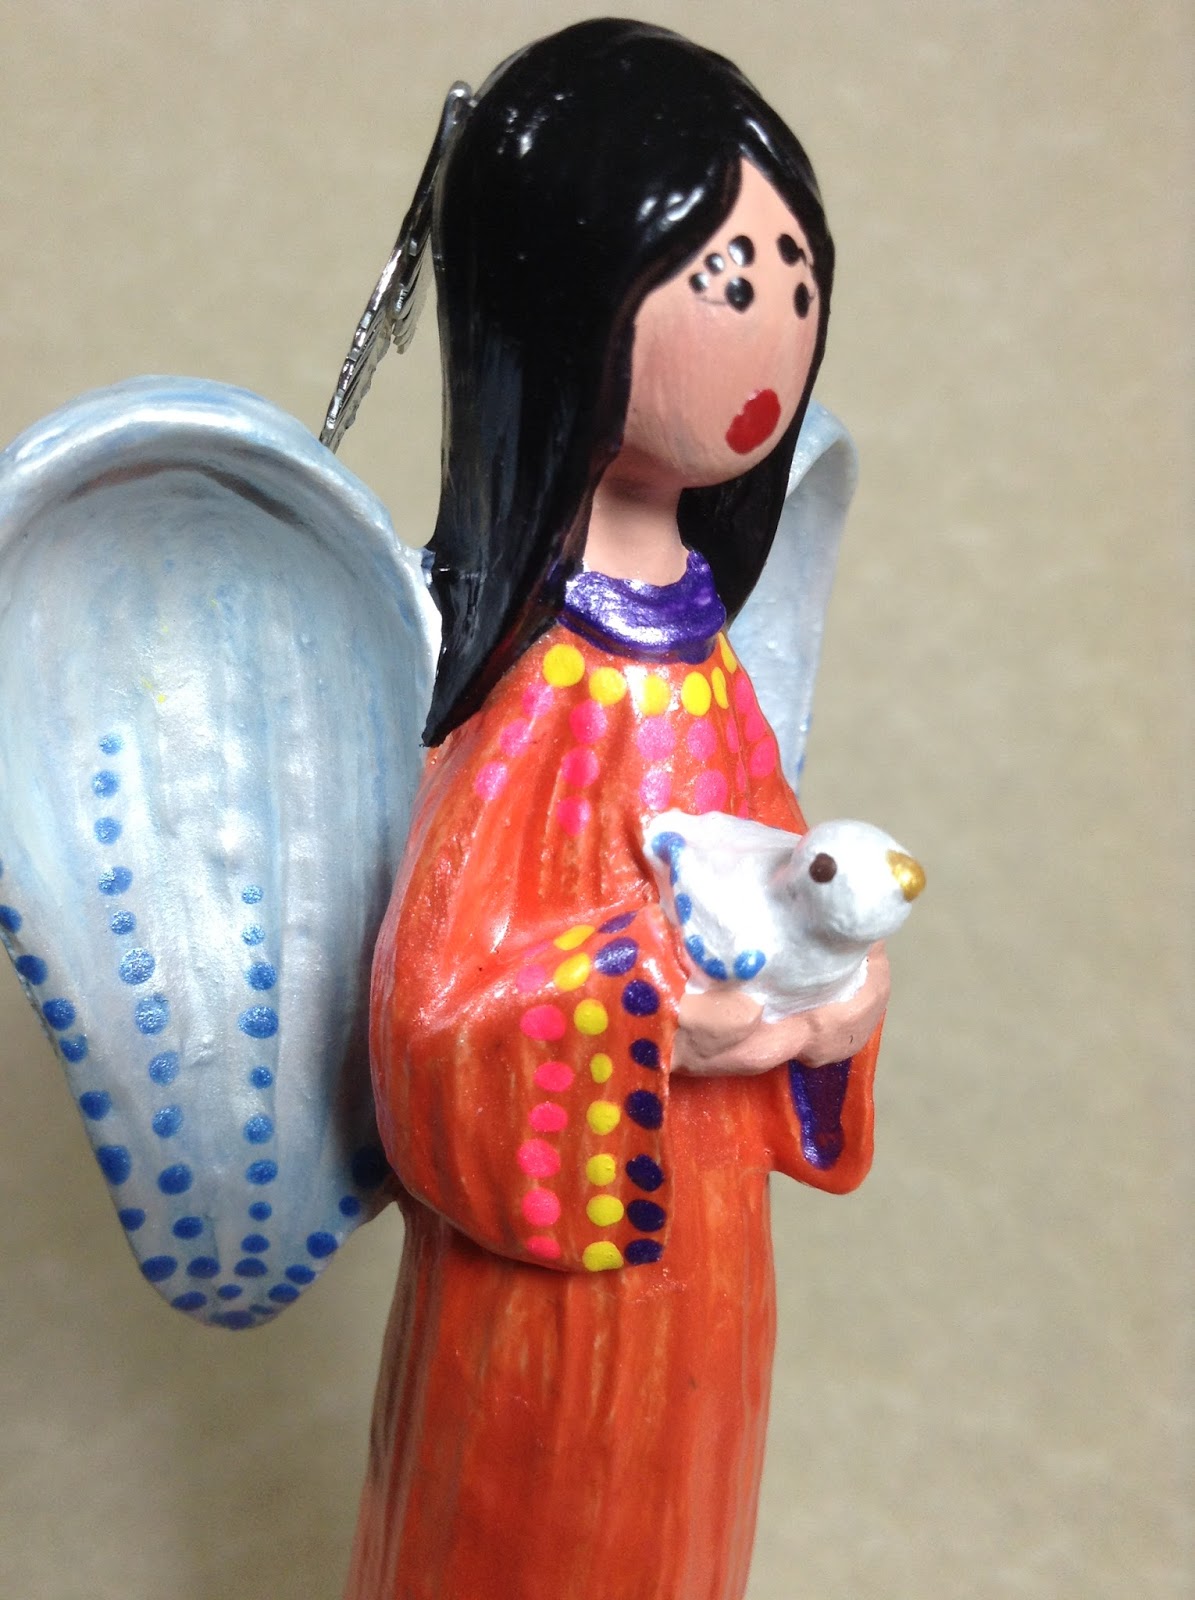
Little Miss Orange Angel got dots on her wings, dots on her sleeves, dots on her little dove, who also got a gold beak and brown eyes.  The original face had these slanted impressions for eyes.  I filled them up and added dot eyes and a mouth.  I hard a hard time with making uniform eyebrows, so I made them out of dots.  It works.  Gloss black paint for her hair and a nice red mouth.


For the bottom of her dress, I did more and  more dots, some strait and some in a zig-zag. You may also see some little rhinestones I added for sparkle.  And here she is all finished.
 
 
Little Miss Green Angel got dashes on her wings and more dots on her sleeves and collar.  The star was painted with metallic gold.
 
 
Her dress got a star pattern, big and small, with rhinestones added for sparkle.


On the bottom I did a three color "flame."  Not sure it worked, but there it is.  And here is Little Miss Green Angel all finished.
 
 
I really went bonkers with the dots on Little Miss Purple Angel. 
 
 
The book now has a brown cover, gold edging on the leaves, and on the page I added some gold notes to the white enamel.  When I first started this swirl, I wasn't sure it was going to look ok, but I just kept adding more and more color, green stippling, yellow dots and pink dots.  I like it.
 
 
On the other side of the swirl, I painted dot flowers and put rhinestones in the middle of them.
 
 
And here is Little Miss Purple angel all finished.
 
 
I found some small jewelry clamps that I thought might look like feathers.  I folded them over and glued them on to look like feathers in their hair.

All finished, before and after.  I think it's an improvement. 


Easter is coming.  Those two other bunnies from last year are calling my name.

Monday, February 15, 2016

Festival of Trees 2015

I'm back, and I'm sure you are all really, really curious to know how my Festival of Trees for 2015 worked out.  So here goes.  I got the wreath from on-line.  It was only 24 inches, because that is what the instructions said to make it, but there were plenty of wreaths that were bigger than that at the Festival.  I could have made a 36 inch wreath, no problem.  Oh, well.
 

Consequently, the door they gave us was tall and thin.  I could hardly reach to put the wreath on the hanger.  As it turned out, this was actually a good thing.  By the time we got the quilt set up it needed to be that tall.


I found this highway sign at Hobby Lobby in Idaho Falls when I went home for Thanksgiving.  Someone actually asked me where I had got that old sign.  I almost hated to break his bubble.  Hobby Lobby.

Let's see if we can get a close up of the wreath.


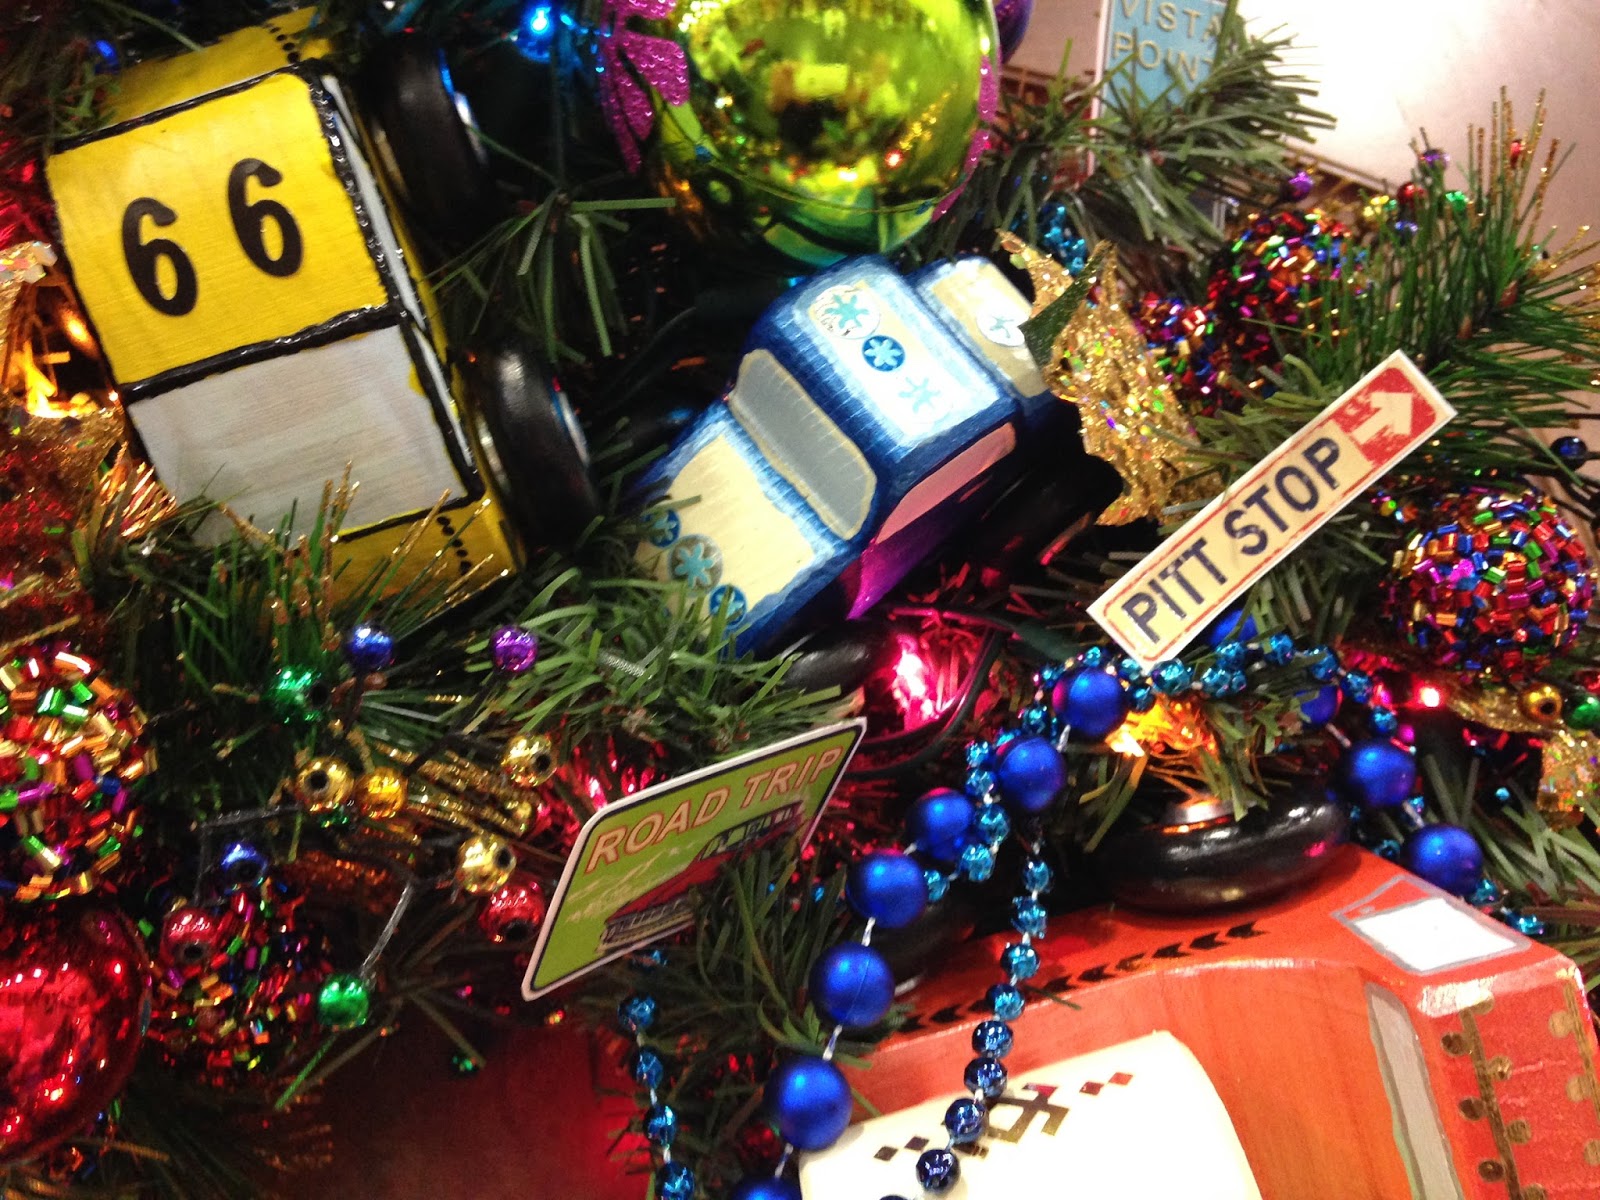
This might be a little fuzzy because I blew it up, but it should give you an idea.  There are eight little cars, fun bulbs, Blue ribbon and this big drippy thing I found at JoAnn's fabrics and a bunch of little route 66 and car travel stickers.  Those I actually had to glue on.

 
Here are close ups of a couple of cars on the wreath.  I really wish I'd taken better pictures of the orange tanker.  I used decals that were intended for skin tattoos.  It's fun what you can find when you are not really looking. 
 
 
Dad had also given me an ebony truck with a handrail tanker.  These I sprayed clear.  The green truck, tractor and trailer I made as a matching set.  I think they turned out very cute.
 
 
Here we both are.  All done setting it up and pleased as punch with how it turned out.  The night of the auction, it didn't sell right away, but it did sell that night for at least $475.00.  That's about what we put into it, financially.  The hours could not be counted.  Neither can the life of a small child.
 
 
Now, I wasn't going to do a Festival of Trees for 2016.  I was going to concentrate on supporting the Washakie Medical Center in Worland, Wyoming, where my brother is the CEO, which I still plan to do with the figurines I repaint.  However, I got an idea:  a wonderful, horrible, awful idea.  And it started with this...  Would someone please cut up my credit card!!!!


To be continued - in a few months.

Saturday, August 15, 2015

Li'l Red Truck

Hello All.  This is another one I started last year; a small truck I painted red.  Ignore the little blue car for right now.  I'm still working on that one.  Anyway, I decided I was going to go fairly straightforward with this little truck.

 
 I started by adding a metallic red finish, then used a copper metallic paint to outline the windows, doors, hood and back end.  I painted silver metallic bumpers and door handles.  The wheels are gloss black with silver metallic hubcaps. 

 
I painted on a front radiator cover and instead of the google eyes, I put on faux crystal buttons for the head lights. 

 
And red ones for the tail lights in the back.

 
Pretty simple.  But I like it.  Here it is all put together and finished.  The back first.
 
 
And here's the front with a couple of windshield wipers in black.  All ready for a Christmas load down route 66.

Thursday, August 13, 2015

Purple & Yellow Cars

These are some cars I actually started working on last year.  They look like VW Beetles. 


They just needed some touch up.  I painted the tires with the black gloss on two of them and left the last one with flat black tires.  I added the little google eyes to two of them as headlights.  On one of the yellow ones I had tried using some fabric - I don't remember what you call it, but it has a shiny plastic look to it.  Anyway, I just couldn't get the lines straight.  And it ended up looking blah.
 
 
I got the idea to put a 66 on the top, but it still looked blah to me.  I also had another yellow car that I had outlined in blue and did the dot and dash thing. 
 
 
I ended up putting the google eyes on the windshield and felt like it really gave it a whole new character.  I outlined little 66 in black to give it more definition and here are the three little cars all together.  Ready for their Christmas on Route 66.  Or is it 99.  66.  It's 66.


Next, the little red truck.  That one turned out nice!
 
Remember to wash your brushes!